Resurface Rotors – Restore Your Braking Power
When you hear the term resurface rotors, the process of machining a warped brake disc back to a smooth, even surface so the brakes work reliably again. Also called rotor turning, it’s a key step in keeping your vehicle safe on the road. The procedure sits inside a larger brake system, the network of rotors, pads, calipers, fluid and hardware that slows or stops a vehicle (sometimes referred to as the braking assembly). Before you decide to resurface, you’ll want to check the condition of your brake pads, the friction material that clamps onto the rotor to create stopping force (also known as friction pads) and make sure the brake fluid, the hydraulic liquid that transfers pedal pressure to the calipers is clean and at the correct level. In short, resurface rotors works best when the whole braking package is in good shape.
Why Rotor Resurfacing Matters
Rotor resurfacing directly impacts stopping distance, pedal feel and the lifespan of other brake components. A smooth rotor surface lets the pads engage evenly, reducing vibration and the squeal that drivers often hear after a hard stop. If the rotor stays warped, the pads wear unevenly, which can lead to premature pad replacement—a cost you could avoid by resurfacing early. The process also helps prevent heat spots that cause brake fade on downhill runs or during heavy city traffic. Think of the rotor as the stage; if the stage is uneven, even the best actors (your pads) can’t deliver a perfect performance.
Choosing to resurface versus replace depends on a few measurable factors. Thickness gauges tell you whether the rotor still meets the minimum material requirement after machining. If the rotor is within spec and free of cracks, turning it can save you up to 60% of the cost of a new part. However, if the rotor is already close to its wear limit, replacement is safer. Many shops also factor in the age of the brake fluid; contaminated fluid can cause corrosion that undermines a freshly machined surface, so a fluid flush often accompanies a rotor job. Keeping an eye on these variables lets you make a confident decision without guessing.
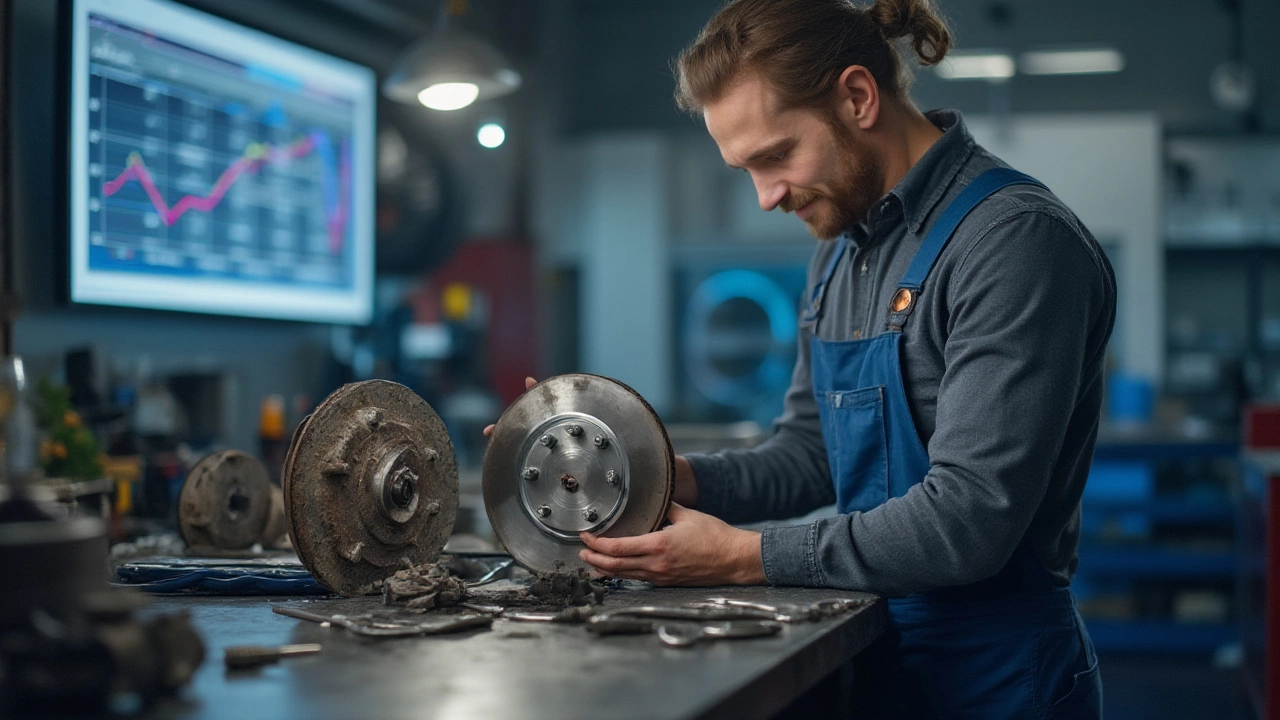
From a DIY perspective, the steps are straightforward but demand the right tools. You’ll need a rotor lathe or a professional machine, a torque wrench for re‑installing bolts, and a clean work area to avoid contaminating the new surface. Safety glasses, gloves and a brake dust mask are non‑negotiable because grinding metal releases fine particles that can damage lungs. After the machining, you must deburr the edges, clean the rotor with a brake‑specific solvent, and re‑install the pads with the correct torque specs. A quick brake pedal test at low speed confirms that the resurfacing paid off.
Below you’ll find a curated set of articles that dive deeper into each piece of the puzzle. Whether you’re wondering how to tell if you need new rotors, comparing brake pad materials, or learning the best way to flush brake fluid, the posts here cover the full spectrum of brake maintenance. Browse the collection to sharpen your knowledge, avoid costly mistakes, and keep your car stopping safely every time you hit the brakes.
Rotor Resurfacing vs Replacement: What Saves You More Money?
Jul 20 2025 / Car MaintenanceIs it actually cheaper to resurface or replace your brake rotors? Learn the real cost differences, what's best for safety, and tips to keep your brakes working longer.
VIEW MORE