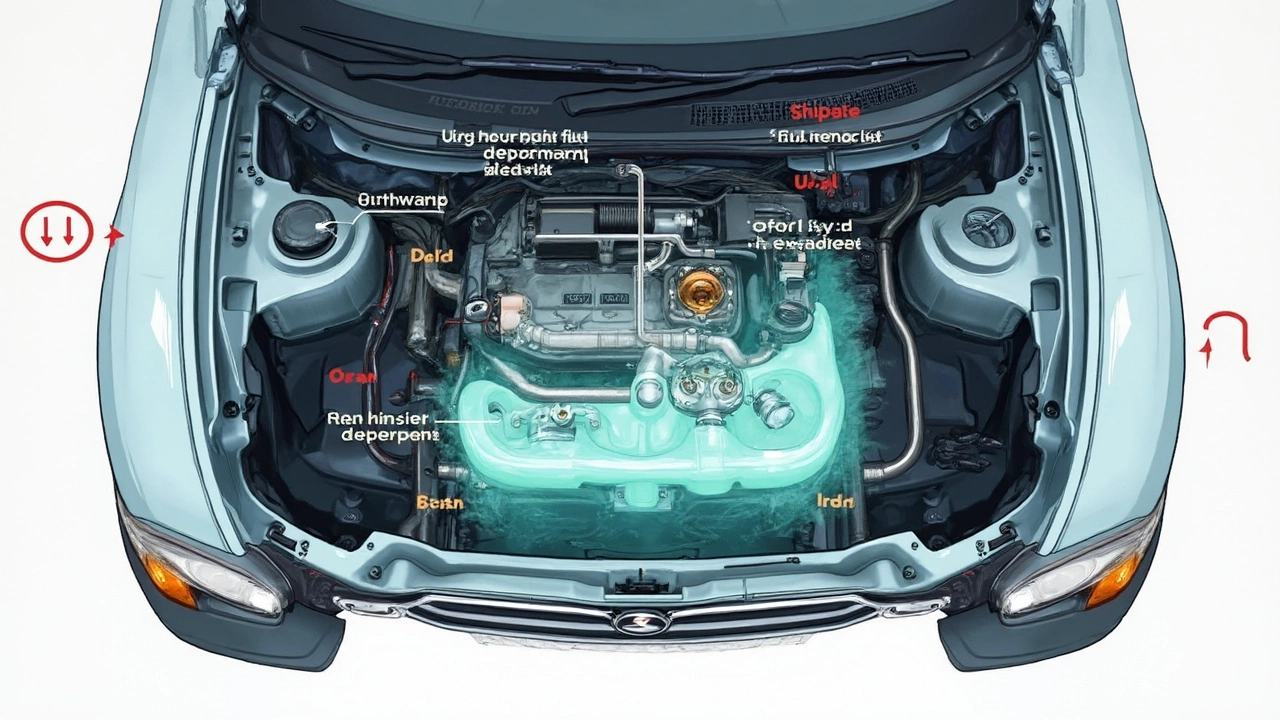
Ever tried wrangling a dripping, half-full gas tank on your driveway? Picture car owners, fingers crossed, staring at the fuel gauge before tackling a fuel pump project—hoping it’s dangerously close to E. The internet buzzes with warnings about the fuel, about safety, about impossible bolts. So, do you really need to run your tank bone dry before changing out a faulty pump, or is that just overkill? Time to get into some greasy, real-world truths.
Fuel Pump Basics: Why This Part Matters
First, let’s talk about what the fuel pump actually does. In most modern cars, this little electric wonder sits inside your gas tank, feeding gasoline up to your engine at precise pressure. When your pump’s on the fritz—maybe your car stalls, sputters, or refuses to start—you’re in for a real headache.
Statistics show most fuel pumps last about 100,000 miles, but it isn’t set in stone. Some soldier on for much longer if you’re lucky, but sometimes cheap gas, dirty fuel, or overheating wears them out early. In trucks and SUVs, pump failure is frequently the single biggest cause of mid-life breakdowns.
What makes the fuel pump swap tricky? Access is part of it. Many vehicles require you to drop the entire tank. Others, like some GM models, give you a handy access panel in your back seat or trunk. Regardless, unless your ride is a classic with an external pump, plan on wrestling with the fuel tank—or at least the tank’s contents.
Here’s a jaw-dropper: Over 90% of fuel pumps in vehicles built after 2005 are located inside the gas tank. This smart design keeps the pump cool and quieter, but it complicates repair. Change fuel pump jobs now mean dealing with gasoline, no matter what.
Fact or Fiction: Is It Ever Safe to Leave Gas in the Tank?
Now, the big myth out there is that your gas tank must be bone dry before you even think about swapping the pump. But that’s not entirely true. Yes, less fuel means a lighter, easier-to-drop tank. There’s also less spillage and fewer fumes to worry about. Nitpicky? Maybe, but you’ll thank yourself later if you avoid a mini Exxon Valdez under your car.
But getting all the gas out isn’t always practical. Most cars don’t come with a drain plug, so unless you siphon, you’re stuck with whatever is there. 2019 survey data from a leading auto repair chain found only 6% of DIYers actually empty their tanks completely before attempting replacement. Mechanics? Almost never—unless a full tank would tip the scales at over 80 pounds.
It’s a sliding scale: the less gas, the better. Many shops recommend driving your car until you’re under a quarter tank. Why? A quarter full keeps enough fuel to avoid a dry pump start when reassembling, but won’t leave you sweating as you muscle sixty pounds of gas on your chest.
Any safety pro will tell you: keep open flames away, ventilate your work area well, and have a fire extinguisher close. Static electricity and fuel vapors do not mix. Spill a little? Cat litter or sawdust can soak it up, but avoid garden soil (it can be a fire risk). But you don’t need every last drop out—just enough gone so the tank isn’t dangerously unwieldy.
How Pros Prepare The Tank for a Fuel Pump Change
Ok, so how do the experts do it day in, day out? Here’s something you don’t see on YouTube: most pro techs will simply make sure the car is below the quarter tank mark, then depressurize the fuel system. Modern vehicles almost always let you access a fuel line near the engine—pop the fuel pump fuse, crank the engine until it dies, and you’ve relieved the pressure. Less chance of a gasoline geyser when you loosen lines at the tank.
Can’t get the fuel low enough? You have two main options. First, siphon out the extra gas using a hand-pump kit (these cost about $15 at most parts stores). In rare cases, where your filler neck is too twisty for a siphon, shops use a transfer pump hooked through the fuel line itself.
Once the tank’s light enough, most shops use two jacks: one to support and lower the tank, the other as a safety backup. It’s definitely not a one-person job if it’s still heavy. Struggling with it solo puts you at real risk for strains, bruises, even broken bones if the tank slips.
Before you disconnect anything, always unhook your battery. A stray spark equals disaster. Have a large drain pan, gloves, and eye protection, too. No, that’s not overkill. It’s really easy to splash yourself with gasoline when you tilt the tank, especially if you don’t realize how much is sloshing around.
Once the tank is down, mark where straps and connections go. Smartphone cameras are your friend. Don’t rely on memory after wrestling a 60 lb. tank for 40 minutes. Some newer cars even have plastic tabs that snap off if you pull too hard—double-check you aren’t brute-forcing the wrong part.

Step-by-Step: Changing the Fuel Pump Safely and Smartly
So, you don’t need an empty tank, but you do need to work smart. Here’s a field-tested method most techs use. See if you can spot what’s often skipped in YouTube tutorials:
- Drive down your gas level: Try to get below a quarter tank. If you can’t, plan to siphon.
- Depressurize the fuel system: Pull the fuel pump fuse or relay, then run the car until it stalls. Try cranking a few extra seconds.
- Disconnect the battery: Always, always do this before messing with fuel lines or electrical connectors.
- Support the tank securely: Use two jacks, or a jack and sturdy blocks, so you can lower it steadily.
- Unfasten straps and lines: Keep a drip pan beneath. Label everything you unplug; some connectors look alike.
- Lower the tank partially: This gives access to wiring and vent hoses. Remove slowly—it might be heavier than expected.
- Remove the fuel pump assembly: Usually, it’s a locking ring or set of screws. Be gentle—plastic parts snap!
- Install the new pump: Check your O-rings and gaskets; double-check orientation.
- Reassemble and refill: Raise the tank back into place, connect all lines correctly, and refill with fresh gasoline.
- Prime the pump: Before starting, turn the key to “On” a couple times to let the pump prime the fuel lines.
Some mechanics add a new fuel filter at this stage, even if the manufacturer says it’s “lifetime.” It’s cheap insurance for a pump you hopefully never have to change again. Getting everything hooked up wrong can mean a no-start or a fuel leak, so double and triple check those connections.
Common Pitfalls, Pro Tips, and Handy Data
Ever heard horror stories about folks torching a car while changing a fuel pump? The National Fire Protection Association tracked about 5,000 vehicle fires a year in North America linked to poor fuel system handling. Almost all occurred with open flames, smoking, or severe static electricity near spilled fuel. So skip the smoke break and cracked phone charger cables!
Here’s a handy table with some real-world stats to keep in mind:
| Average Fuel Pump Lifespan | Typical Tank Weight (Full) | Time Required (DIY) | Cost of Replacement (Avg.) |
|---|---|---|---|
| 100,000–150,000 miles | 80–150 lbs | 2–4 hours | $250–$700 (including parts) |
Worried about fumes? Ventilate your work space well—crack a garage door or use a fan facing out. Some folks like to set up a box fan and point it out to help move air, just not too close, in case vapors reach the motor.
Use nitrile gloves—gasoline will ruin regular latex, and can dry out or burn your skin fast. If you spill, don’t hose it down a driveway; check your city’s hazardous waste rules for disposal.
Urban legend says adding a can of fuel injector cleaner to your first fill-up helps break in a new pump. This isn’t strictly true—you’re better off using clean, fresh gas and a new in-tank filter sock. Contaminants and grit are the real killers of new pumps.
Is Professional Replacement Worth It?
Not everyone is ready to crawl under a car and wrangle a 100-pound gas tank. Pros charge a few hundred bucks in labor, but some shops include a warranty on the work and part. Shops usually tackle this job with an experienced helper, air tools, and a lift, which makes life way easier.
But if you’re careful, take it slow, and don’t mind a little sweat and stink, changing your own pump can save serious money. Seasoned DIYers say the biggest hurdle isn’t the fuel itself—it’s corrosion, stuck bolts, and awkward tank straps. Soak every bolt with penetrating oil a day before, and have backup parts (O-rings, hose clamps) on standby.
So, no—you don’t need a bone-dry tank. Just work smart, don’t shortcut safety, and tackle the job with the same care you’d use cutting onions… when you’re not in the mood to cry about it. Happy wrenching!


