Ever wondered if you could replace your car's clutch all by yourself? It's no cakewalk, but hey, with the right knowledge, it’s far from impossible. Let's talk about it in plain English, because we all know how car jargon can send us into a tizzy.
If you're noticing weird noises or struggling with gear shifts, your clutch might be crying for help. Early diagnosis is your best friend. A slipping or sticking clutch often means it's time for a replacement. And yes, if you're comfortable getting your hands a bit greasy and have a weekend to spare, this task can be your DIY project.
- Recognizing Clutch Problems
- Tools You’ll Need
- Step-by-Step Replacement Guide
- Pro Tips for Success
- When to Call a Professional
- The Cost Factor
Recognizing Clutch Problems
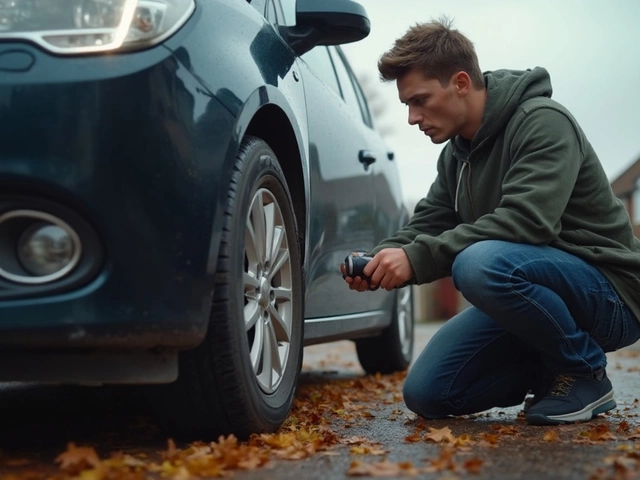
Spotting clutch troubles early is vital, saving you the headache and dollars in the long run. Let's dive right into the signs of a clutch replacement being on the horizon.
Signs Your Clutch is Failing
Ever felt like your car's just refusing to get moving despite the revving? That's a classic sign of a slipping clutch. Here are some other things to watch for:
- Slipping Gears: If your car’s engine revs up, but the speed doesn’t increase as expected, that’s a telltale sign.
- Burning Smell: A scorched odor while driving can indicate overheating due to clutch slipping.
- Difficulty Changing Gears: Struggling with smooth gear shifts? Your clutch might not be disengaging as it should.
- Spongy or Loose Clutch Pedal: Feeling little resistance when pressing the pedal? It could mean there’s air or a leak in your hydraulic system.
- Grinding Noise: No one likes bizarre noises from their car. Grinding sounds when shifting may point to misalignment or worn-out parts.
When to Pay Extra Attention
It’s smart to be a bit more vigilant if your car covers excessive miles or if you’ve noticed sudden changes in the driving experience. Consistent gear slippage or difficulty in gear engagement should prompt immediate checks.
| Symptom | Possible Cause |
|---|---|
| Slipping Gears | Worn Clutch Disk |
| Burning Smell | Overheating and Excessive Friction |
| Difficulty Gears | Disengagement Issue |
Keeping tabs on these signs can save you from bigger troubles down the road. Remember, it could be time for a clutch replacement before things get costly.
Tools You’ll Need
Tackling a clutch replacement isn't just about guts and glory—it's about having the right tools on hand. You'll be on a wild goose chase without them. So, what exactly do you need?
Basic Tools
First up, gather the basics. We're talking your standard toolset: wrenches, sockets, and screwdrivers. But don't just settle for a single size; make sure you've got a range, especially socket sizes 10mm to 19mm, as they'll come in handy.
Specialized Gear
Here's where things get specific. Invest in a clutch alignment tool. This little gadget ensures your clutch is perfectly centered, making installation a breeze. Lack it, and you'll be wrestling with the setup longer than you'd like.
- Trolley Jack and Jack Stands: Essential for hoisting your car off the ground safely so you can actually reach the clutch kits.
- Socket Set: The deeper the better, as you'll need to navigate tight engine areas.
- Torque Wrench: Crucial for tightening bolts to the precise amount of pressure.
- Pry Bar: It’ll give you the leverage needed to move components that are snugly in place.
Extra Essentials
Don't forget safety gear. Gloves, goggles, and a mask are the trifecta of protection. After all, you'll be dealing with old parts that might be rusty or grimy.
Removing and replacing a clutch can take anywhere from a cozy afternoon to a demanding two-day stint, depending on your car model and experience level. Have a trusty flashlight to guide you in dim-lit engine compartments. Feel prepped? You’re one step closer to swapping out that stubborn clutch!
Step-by-Step Replacement Guide
So, you’ve gathered your courage and your toolbox to tackle the clutch replacement. Before you dive in, make sure to clear a solid chunk of time—this might take a while!
Prepare Your Vehicle
- Safety First: Park your car on a flat surface and disconnect the battery. Trust me, you don't want any surprise sparks flying around.
- Lift the Car: Use a jack to lift the car and secure it with jack stands. This step gives you room to work underneath the vehicle.
Remove Necessary Parts
- Take Out Transmission: You’ll need to remove the driveshaft first. Once that’s out of the way, remove the bolts and detach the transmission carefully.
- Access the Clutch: With the transmission out, you’ll see the clutch. Remove the pressure plate bolts to detach it from the flywheel.
Install the New Clutch
- Line Up the Clutch: Fasten the new clutch disc to the flywheel. It’s crucial to align it properly with a clutch alignment tool. This might take a few tries!
- Secure the Pressure Plate: Tighten the pressure plate bolts. They need to be snug, but don't go overboard.
Reassemble and Test
- Reattach the Transmission: Carefully slide the transmission back in place. This can be the trickiest part, so take your time and enlist help if needed.
- Reconnect Everything: Bolt the driveshaft back in, and hook up the battery. Double-check everything is secure.
Now, give your handiwork a test. Pump the clutch pedal a few times to build pressure before starting the car. Do a cautious test drive around the block and pay attention to how the clutch feels.
Remember, every model is a tad different, so having your car’s manual or specific guide handy is a smart move. If this feels a bit over your head, or you hit a snag, don't hesitate to call in a pro.
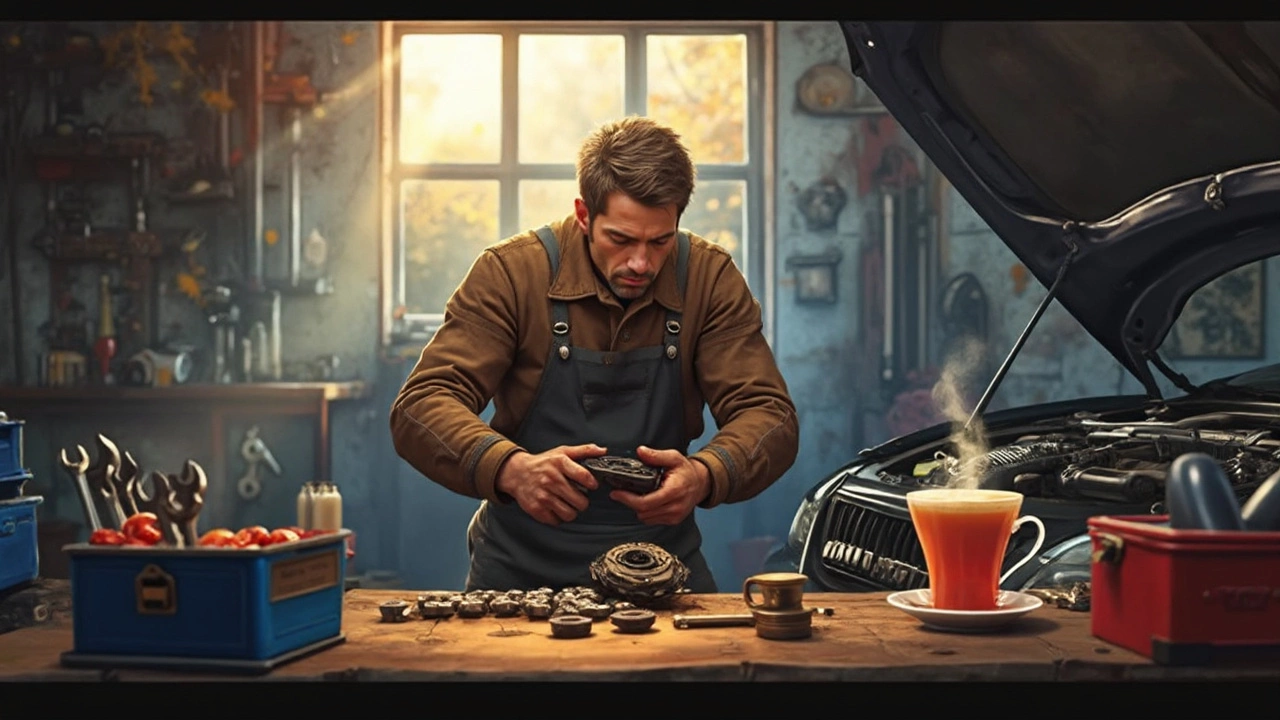
Pro Tips for Success
Replacing a clutch isn’t just about nuts and bolts—it's about attitude and some neat tricks that make it less daunting. Here are some down-to-earth tips to help you steer clear of common pitfalls.
Get Organized Before You Start
Before diving in, lay out your tools and parts. A well-organized workspace saves you from frantic searches for that one socket you need. Make sure your clutch kits include everything—sometimes bits go missing, and you don't want to find out mid-job.
Label Everything
As you dismantle parts, label them. A bit of masking tape goes a long way in ensuring bolts and pieces go back exactly where they came from. It'll save you heaps of confusion later.
Clean as You Go
Clean parts as you remove them. Grime and dirt can hide trouble spots and can make reassembly a mess. Keeping parts clean also gives your car maintenance project a professional touch.
Second Pair of Eyes
Think about having a friend around to lend a hand or just keep an eye on things. A fresh perspective can spot something you might overlook. Plus, it’s more fun than tackling it solo.
Mind the Torque
Too tight or too loose? Neither is good. Use a torque wrench for everything that needs precise tightening. Improperly torqued bolts can lead to noisy, even dangerous, complications.
Don’t Rush Reassembly
Take your time putting everything back together. Double-check everything as you go. A smooth, careful reassembly is just as important as the removal.
Test Before You Bolt Down
Once the clutch replacement is in, give it a gentle test before you secure everything. It’s better to catch issues now rather than later when everything's buttoned up.
Remember, patience and attention to detail are your best tools for success. Keep these tips handy, and that clutch replacement can be less of a headache and more of a confidence booster!
When to Call a Professional
So, when should you throw in the towel and let a professional handle the clutch replacement? Sometimes it’s smarter—and safer—to let the experts get under the hood. Here’s when you might want to put the wrench down and grab the phone.
Complex Car Models
Some car models, especially those with unique transmission systems, can turn a seemingly straightforward task into a mechanical jigsaw. Vehicles with limited access to clutch components might require specialized tools or methods. In these cases, a professional mechanic will have the experience and tools to handle the intricacies.
Lack of Tools
Sure, you can’t replace a clutch with just a screwdriver and some duct tape. You’ll need specific tools like transmission jacks and torque wrenches. If you don’t have these on hand and aren’t looking to invest, hiring a pro could actually save you time and money.
Time Constraints
No one has all the time in the world. A professional clutch replacement might take a few hours, while doing it yourself can extend over a weekend or longer, especially if it’s your first time. If your schedule is already jam-packed, consider calling a professional so you can spend your weekend on more fun activities.
Lack of Confidence
Finally, and most importantly, if you're not feeling confident, that's perfectly fine. Modern vehicles have become quite complex, and making mistakes is easy and sometimes costly. If at any point, you're uncomfortable with what you're doing, it’s best to hire someone who does this day-in, day-out.
Remember, calling a pro isn't a defeat; it's often a wise choice. Ensuring that your clutch replacement is done correctly will keep you safe and your vehicle running smoothly.
The Cost Factor
You've probably heard that replacing a clutch can hit your wallet pretty hard, but let's break it down. The cost of a clutch replacement varies a lot depending on your make and model. If you own a popular car like a Ford Focus or Honda Civic, you're looking at a range between £400 and £700 if you're doing it yourself. That’s just for the parts and clutch kits. Head over to a repair shop, and you might see figures from £600 up to even a shocking £1,200 for luxury or complex setups.
Why the big gap? Labour costs are a huge part of the bill. Your trusty mechanic spends 4 to 6 hours on average tearing down the others and putting it back together. Mechanics gotta get paid, right?
Breaking Down the Costs
- Clutch kit: This usually includes the clutch disc, pressure plate, and release bearing, priced between £100 - £350.
- Labour: Depending on where you live, this can be from £50 to £100 per hour.
- Miscellaneous costs: Things like flywheel resurfacing can add another £50 to £100.
Now, if you decide to take on this project at home, you save the labor costs but ensure you've got the parts tested and genuine because nothing's worse than going through all that effort only to have a dodgy kit.
Quick Cost-Saving Tips
- Shop around for parts online or at auto parts stores for discounts.
- If your vehicle's under warranty, double-check before spending. You never know, you might get parts replaced for free.
- Join online car enthusiast forums. Folks there might offer handy tips on where to find the best deals or share how you can DIY the fix.
Sure, handling a clutch replacement can initially seem expensive and time-consuming, but with a bit of research and elbow grease, you can definitely save some serious cash. Plus, there’s the added satisfaction of fixing your own car!