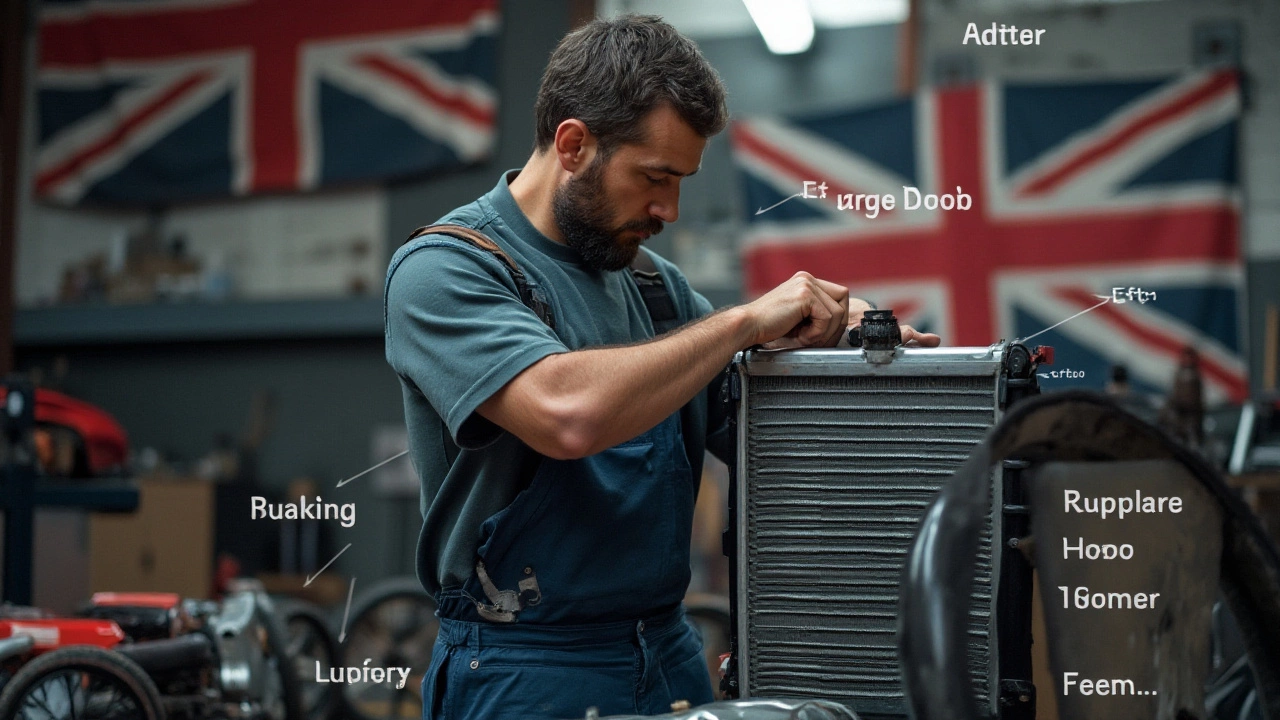
Car Radiator Replacement: A Practical Overview
When dealing with Car Radiator Replacement, the process of removing a faulty radiator and installing a new one to restore proper engine cooling. Also known as radiator swap, it is a core task for any driver facing cooling problems. Understanding this process helps you avoid costly engine damage and keeps your vehicle reliable.
One of the first things to recognize is the role of the coolant system, a sealed network that circulates coolant through the engine, radiator, and heater core. The system includes the radiator, water pump, thermostat, and hoses. If any part fails, especially the radiator, the whole system can overheat. Knowing how these components interact makes the replacement job smoother and reduces the chance of re‑occurring issues.
Another key entity is engine overheating, a condition where the engine temperature exceeds safe limits, often signaled by a rising temperature gauge or steam from the engine bay. Overheating can stem from low coolant, a clogged radiator, or a stuck thermostat. Spotting the signs early lets you plan a timely radiator swap before the engine suffers warped heads or blown gaskets.
Why Proper Replacement Matters
Replacing a radiator isn’t just swapping metal; it requires a thorough flush of the coolant system to remove old corrosion and debris. Skipping the flush can re‑introduce blockage and undo your work. Also, the radiator cap must be inspected. A faulty cap can’t maintain pressure, causing coolant to boil at lower temperatures. By treating the radiator, cap, and flush as a single package, you ensure lasting cooling performance.
From a cost perspective, a new radiator plus labor typically runs lower than the repair bills for a seized engine caused by prolonged overheating. Most UK drivers find the average price around £200‑£400, depending on vehicle make. Investing in quality parts and proper installation pays off in fuel efficiency and engine longevity.
Tools you’ll need include a drain pan, torque wrench, screwdriver set, and new hose clamps. Safety gear—gloves and goggles—is a must because hot coolant can cause burns. Follow a step‑by‑step approach: drain coolant, detach hoses, remove the old unit, clean the mounting surface, install the new radiator, reconnect hoses, refill with fresh coolant, and bleed the system to remove air pockets.
After the swap, monitor the temperature gauge during the first drive. A stable reading indicates a successful job; any spikes suggest air trapped in the system or a loose hose. Many drivers find that a proper radiator replacement also improves cabin heating, as the hot coolant now circulates efficiently through the heater core.
Below you’ll find a curated set of articles that dive deeper into each aspect of radiator care—signs of failure, how to test for leaks, choosing the right coolant, and DIY tips for flushing the system. Whether you’re a seasoned DIYer or prefer a professional, these resources will guide you through a confident and cost‑effective car radiator replacement.
Essential Parts to Replace When Changing Your Car Radiator
Jan 27 2025 / Car MaintenanceChanging a car radiator involves more than simply swapping out an old part for a new one. To maintain efficient cooling, it's essential to also consider replacing other critical components that work alongside the radiator. These components ensure that your vehicle's cooling system functions optimally, preventing overheating and extending the life of your car. It's important to stay informed about which parts should be examined and potentially replaced during a radiator change.
VIEW MORE