DIY Clutch
When working with DIY clutch, the process of repairing or replacing a vehicle's clutch by yourself, you’re diving into a core part of the drivetrain that directly affects how power gets from the engine to the wheels. A clutch lets you start, stop, and shift smoothly, so getting it right matters for safety and performance. Most DIYers start because they want to save money, avoid shop wait‑times, or simply enjoy the hands‑on challenge. The good news is that with the right know‑how, a basic set of tools and a clear step‑by‑step plan, you can handle most common clutch jobs at home. Below you’ll find the main ideas you need to keep in mind before you pop the gearbox.
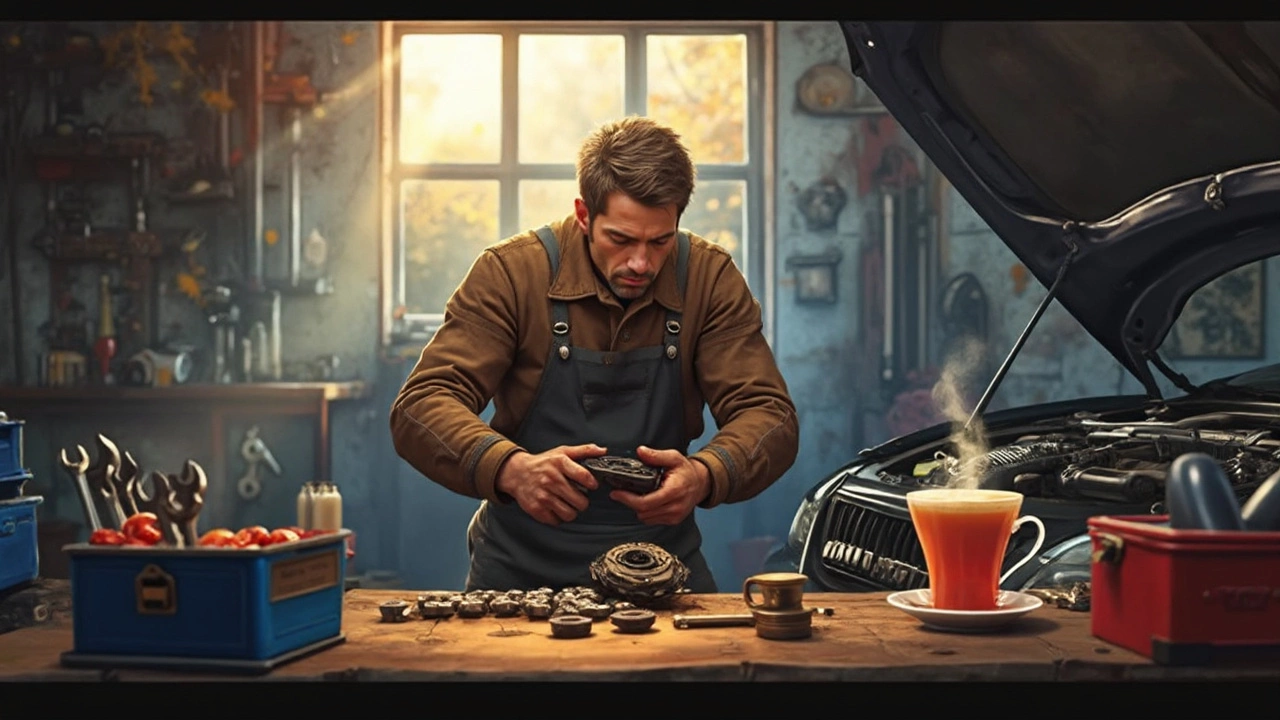
The heart of any clutch job is the Clutch Kit, a collection that usually includes a clutch disc, pressure plate, release bearing and sometimes a pilot bearing. Understanding each component helps you spot wear early and choose the right replacement. The clutch disc transfers engine torque, the pressure plate presses the disc against the flywheel, and the release bearing allows the disc to disengage when you press the pedal. When you decide to do a Clutch Replacement, the act of removing the old kit and installing a new one, you’ll first disconnect the battery, then remove the transmission to gain access to the kit. Take notes or photos of bolt positions – it saves a lot of guesswork later. While you have the gearbox out, inspect the flywheel for cracks or hot‑spot glazing; resurfacing it is often cheaper than buying a new one. Don’t forget the release bearing; a failing bearing will make the pedal feel gritty and can damage the input shaft if left unchecked. After the new kit is in place, torque all bolts to the manufacturer’s specs and re‑assemble the transmission in reverse order. A quick road test will let you feel if the clutch engages smoothly and whether the pedal free‑play is within spec.
Getting the Most Out of Your DIY Clutch Project
Clutch lifespan isn’t a fixed number – it varies with driving style, vehicle weight, and how often you launch from a standstill. Heavy city traffic, frequent hill starts, or aggressive racing can shave years off a clutch’s life. Most manuals suggest a typical lifespan of 60,000–100,000 miles, but you’ll know it’s time for a change when you notice slipping, a high‑pitched squeal, or a soft pedal. Regular maintenance, like checking the hydraulic fluid level and keeping the clutch cable or hydraulic line free of air, can add many miles. If you’re planning a DIY project, stock up on a few essentials: a torque wrench, a transmission jack, a set of metric sockets, and a good clutch alignment tool. These tools keep the job safe and ensure the clutch sits correctly when you bolt everything back together. Remember, safety first – use jack stands, wear gloves, and keep the workspace clean of oil and debris. Even if you’re a first‑timer, following a step‑by‑step guide and double‑checking each bolt torque can make the difference between a smooth ride and a costly redo.
Now that you’ve got the basics, the clutch’s inner workings, and the practical tips, you’re ready to explore the detailed articles below. They cover everything from spotting early wear, choosing the right kit, to step‑by‑step DIY replacement guides and cost breakdowns. Whether you’re looking to save a few pounds, extend your clutch’s life, or simply enjoy working on your car, the collection ahead gives you the knowledge you need to act confidently. Dive in and start mastering your DIY clutch projects today.
How Hard is it to Replace a Clutch?
Mar 19 2025 / Transmission PartsReplacing a clutch might seem daunting, but with the right tools and knowledge, it's a task many car owners can handle. Understand the signs of a failing clutch, the necessary tools, and step-by-step guidance on how to replace it. Explore tips for successful replacement and consider when professional help might be a smarter choice. This article breaks down the process in simple terms, helping you save money and gain confidence in car maintenance.
VIEW MORE