Car Radiator Replacement Estimator
Vehicle & Repair Details
Select Options to Begin
Enter details to see estimates
Cost Breakdown
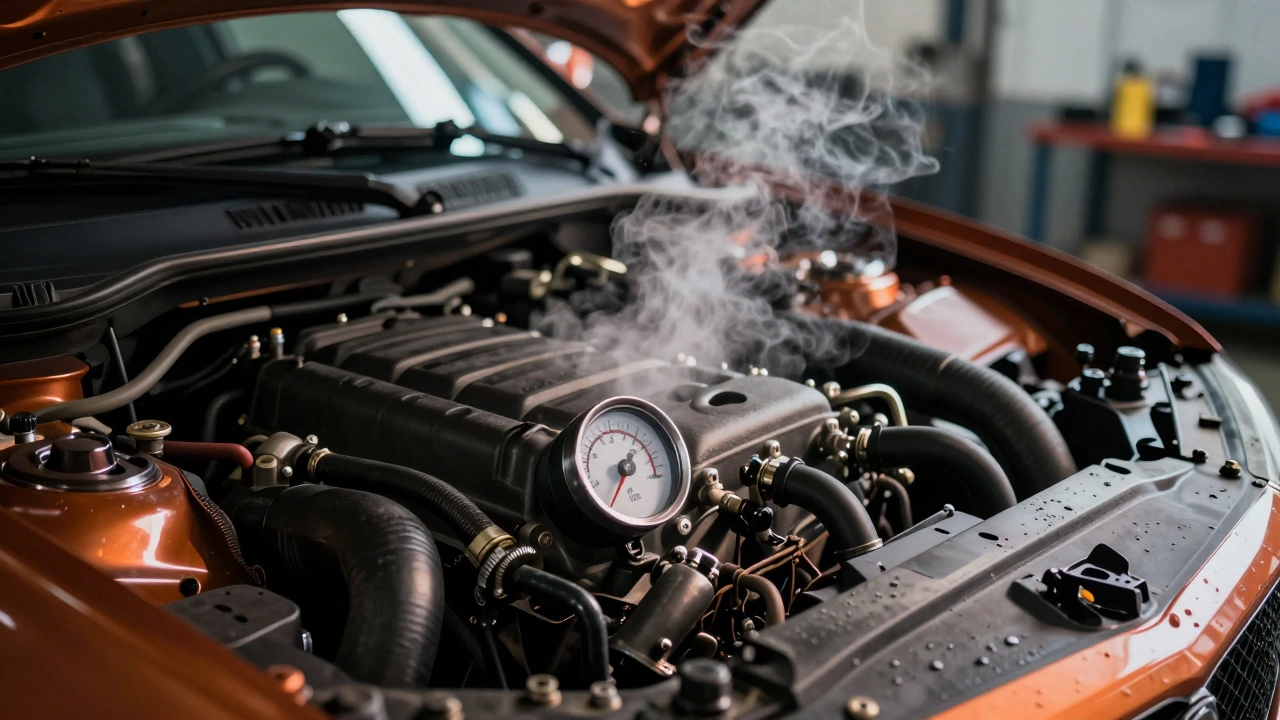
Your engine temperature gauge is climbing into the red zone. Steam is billowing from under the hood. You know exactly what’s wrong-the radiator has failed. But before you panic or book an expensive emergency slot at a garage, you need one critical piece of information: how long will this fix actually take? The short answer is anywhere from two hours for a simple DIY job on a front-wheel-drive hatchback to six hours for a complex rear-wheel-drive SUV with tight engine bays.
Understanding the timeline helps you plan your day, budget for labor costs, and decide whether you can tackle this yourself. A radiator isn't just a metal box; it's the heart of your cooling system. Replacing it involves draining toxic fluids, removing obstructing components, and bleeding air out of the system. Get it wrong, and you risk catastrophic engine damage. Let's break down exactly what goes into that time estimate.
The Quick Answer: Average Replacement Times
If you are looking for a single number, here is the reality based on standard industry data for 2025-2026 vehicle models:
- Simple Front-Wheel-Drive Cars (e.g., Ford Focus, Honda Civic): 1.5 to 3 hours.
- Crossovers and SUVs (e.g., Toyota RAV4, Nissan Qashqai): 3 to 4.5 hours.
- Complex Transverse Engines (e.g., VW Golf GTI, Audi A3): 4 to 6 hours.
- Rear-Wheel-Drive or Luxury Vehicles (e.g., BMW 3 Series, Mercedes C-Class): 5 to 8+ hours.
These times assume the mechanic has the correct replacement part in hand. If they have to order a specific OEM (Original Equipment Manufacturer) unit versus a generic aftermarket one, add shipping time. Also, these estimates include the necessary coolant flush and refill, which is non-negotiable for a proper repair.
Why Does It Take So Long? The Hidden Steps
You might think swapping a radiator is like changing a lightbulb: unscrew the old one, screw in the new one. In practice, the radiator is often buried deep within the engine bay. To reach it, mechanics must perform several time-consuming tasks that aren't always obvious to car owners.
1. Safety and Preparation
A hot engine can cause severe burns. Mechanics must wait for the engine to cool completely if it was recently running. Then, they drain the old coolant. This isn't just pouring it out; it involves disconnecting hoses, catching gallons of fluid in trays, and properly disposing of hazardous waste. This alone takes 20-30 minutes.
2. Removing Obstructions
This is where the clock really ticks. On many modern cars, the radiator is blocked by the grille, headlights, intercoolers (in turbocharged engines), or even the alternator. For example, on some Volkswagen Group vehicles, you have to remove the entire front bumper assembly to access the cooling module. On others, you might need to drop the subframe slightly. Each bolt removed adds five minutes of work.
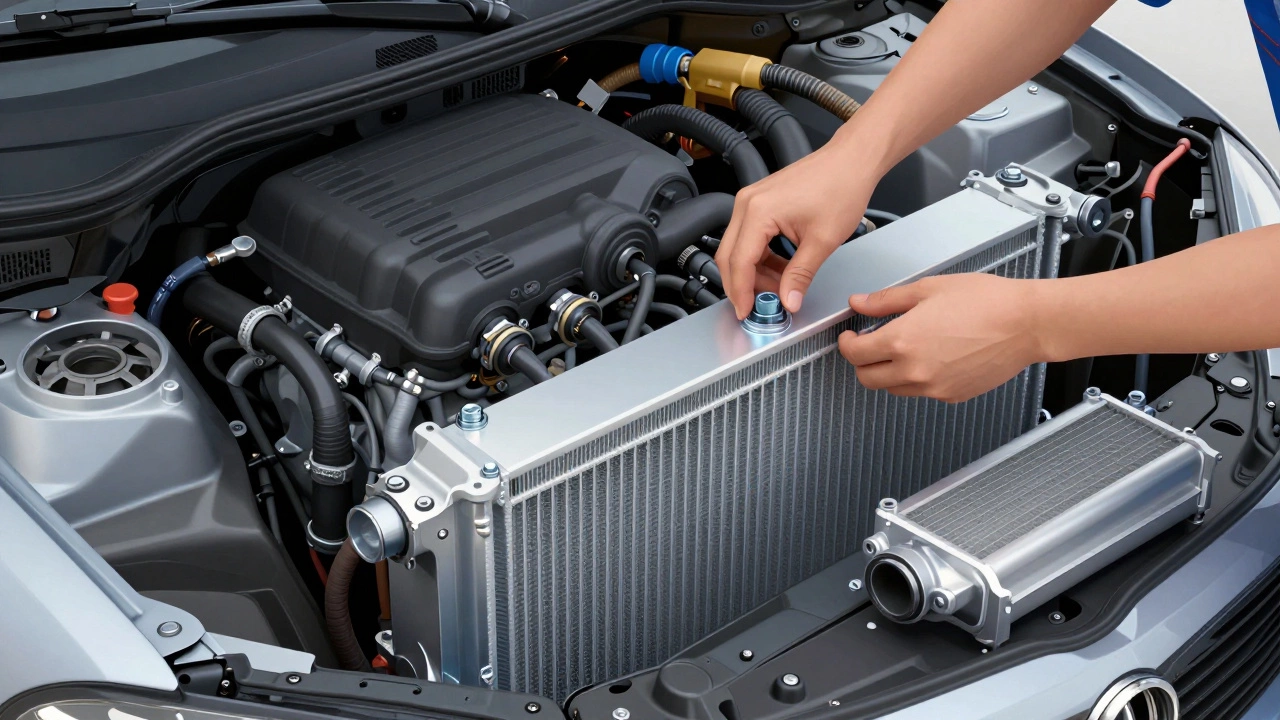
3. The New Unit Installation
Installing the new radiator is the core heat exchanger component that dissipates heat from the engine coolant. requires careful handling. Plastic tanks crack easily if dropped. Hoses must be reattached securely, often requiring new clamps because old ones corrode and lose tension.
4. Refilling and Bleeding
This is the most critical step. Air pockets in the cooling system act as insulators, preventing coolant from circulating. If air remains trapped near the thermostat or water pump, your engine will overheat again within miles. Bleeding the system involves running the engine, topping up fluid, and repeating until no more bubbles appear. This process can take 30-45 minutes alone.
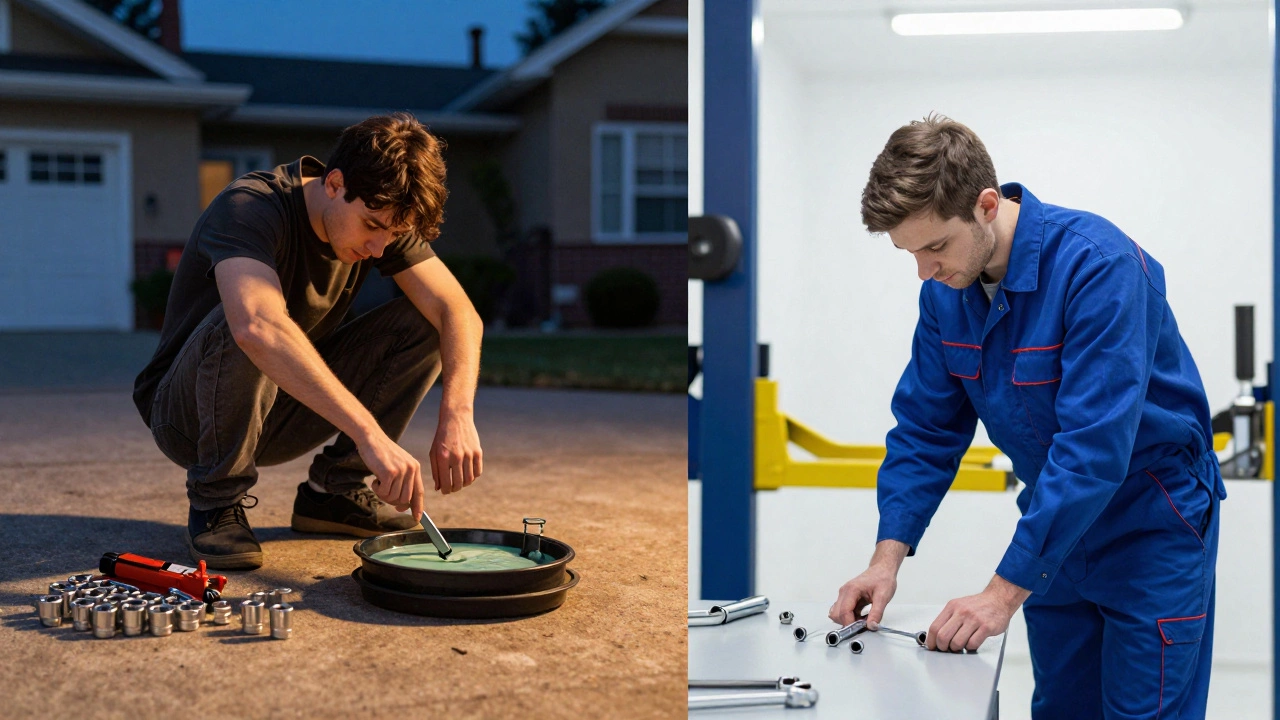
DIY vs. Professional Mechanic: Time and Cost Trade-offs
Can you do this yourself? Absolutely, if you have basic mechanical skills, a jack and stands, and a set of metric sockets. However, "time" means something different when you're doing it in your driveway versus a professional shop.
| Factor | DIY (Home Garage) | Professional Mechanic |
|---|---|---|
| Time Spent | 4-8 hours (including learning curve) | 2-5 hours (skilled labor) |
| Labor Cost | £0 (your time) | £150-£400 (depending on location/car) |
| Parts Cost | £80-£200 (aftermarket/OEM) | £100-£300 (often marked up) |
| Risk Level | High (air pockets, stripped bolts) | Low (warranty coverage) |
| Tools Required | Socket set, pliers, funnel, jack | Professional lift, torque wrenches |
If you choose the DIY route, expect your first attempt to take twice as long as a pro. You’ll likely struggle with stubborn hose clamps or hidden bolts. But you save significant money on labor. In Manchester, for instance, labor rates hover around £70-£90 per hour. A 4-hour job could cost you £360 in labor alone.
Factors That Extend the Repair Timeline
Not all radiators are created equal. Several variables can turn a 2-hour job into a full-day ordeal.
Engine Layout
Transverse engines (where the engine sits side-to-side, common in FWD cars) usually allow easier access from the front. Longitudinal engines (front-to-back, common in RWD/AWD luxury cars) often require removing the transmission tunnel or exhaust components to reach the back of the radiator.
Turbocharging and Intercoolers
Modern performance cars use large intercoolers to cool compressed air. These are often mounted directly in front of the radiator. Removing them adds complexity and time. If the intercooler pipes are brittle due to age, they may snap, requiring additional parts and repair time.
Corrosion and Seized Bolts
If your car is older than 10 years, bolts holding the grille or bumper may be rusted shut. Mechanics spend considerable time penetrating, heating, and carefully extracting these without stripping the threads. This is unpredictable and can add an hour or more.
Additional Component Failure
Radiators rarely fail in isolation. Often, the thermostat housing, water pump, or expansion tank also shows signs of wear. A smart mechanic will recommend replacing these simultaneously. While this increases the upfront cost, it saves you from paying labor charges twice in six months. Adding a water pump replacement might add 1-2 hours to the job.
Step-by-Step: What Happens During the Replacement?
Knowing the process helps you understand why the mechanic is charging what they are. Here is the typical workflow:
- Diagnosis: Confirm the radiator is leaking or clogged. Pressure testing is often used to find small leaks.
- Drain Coolant: Open the drain plug at the bottom of the radiator and disconnect hoses to empty the system.
- Remove Accessories: Take off the fan shroud, electric cooling fans, and any plastic covers blocking access.
- Disconnect Lines: Remove upper and lower hoses, heater hoses, and oil cooler lines (if applicable).
- Extract Old Radiator: Unbolt the mounting brackets and carefully lift out the damaged unit.
- Clean Mounting Points: Scrape away old sealant and corrosion from the frame or engine mounts.
- Install New Radiator: Place the new unit, ensuring it sits squarely. Torque bolts to manufacturer specifications.
- Reconnect Hoses and Fans: Use new clamps. Reinstall the electric fans and shrouds.
- Refill Coolant: Pour fresh antifreeze/water mix (usually 50/50) into the reservoir or radiator neck.
- Bleed Air: Run the engine with the heater on max to force air out. Top up fluid repeatedly.
- Test Drive: Check for leaks and monitor temperature gauge under load.
Common Pitfalls to Avoid
Whether you DIY or hire a pro, watch out for these mistakes:
- Mixing Coolant Types: Green, orange, and pink coolants contain different chemical additives. Mixing them can create sludge that blocks the new radiator. Always check your owner's manual.
- Skipping the Flush: Installing a shiny new radiator into dirty, acidic coolant is pointless. The old gunk will clog the new fins quickly. A thorough flush is essential.
- Ignoring the Thermostat: If the thermostat is stuck closed, the new radiator won't help. Replace it while you're in there-it's cheap and easy.
- Over-tightening Plastic Tanks: Modern radiators have plastic end tanks. Overtightening hose clamps can crack them. Hand-tight plus a quarter turn is usually enough.
When Should You Replace Instead of Repair?
In the past, welding aluminum radiators was common. Today, it’s rarely worth it. Aluminum alloys are difficult to weld reliably, and the structural integrity is compromised. If your radiator has a leak larger than a pinhole, or if the plastic tanks are cracked, replacement is the only viable option. Repair kits exist for tiny leaks but are temporary fixes that buy you weeks, not years.
Consider replacement if:
- You see coolant pooling under the front of the car.
- The temperature gauge fluctuates wildly or stays high.
- You notice a sweet smell inside the cabin (indicating a heater core leak, which shares the same coolant system).
- The exterior fins are bent or clogged with bugs/debris beyond cleaning.
Final Thoughts on Timing and Planning
Replacing a car radiator is a moderate-complexity repair. It’s not as simple as an oil change, but it’s far less invasive than a timing belt job. Plan for half a day if you’re doing it yourself, or expect your car to be at the shop for 4-6 hours. Always ask your mechanic if other cooling components should be inspected. Preventative maintenance now saves thousands in engine replacement costs later.
How much does it cost to replace a car radiator in the UK?
The total cost typically ranges from £250 to £600. This includes the part (£80-£200), new coolant (£20-£40), and labor (£150-£400 depending on the garage rate and vehicle complexity). Luxury brands like BMW or Mercedes can exceed £800 due to higher parts prices and specialized labor.
Can I drive my car with a broken radiator?
No. Driving with a leaking or clogged radiator risks severe engine overheating. Within minutes, you can warp cylinder heads or blow head gaskets, leading to repairs costing thousands of pounds. If you suspect radiator failure, tow the vehicle instead of driving it.
Do I need to replace the thermostat when changing the radiator?
It is highly recommended. Thermostats are inexpensive (£10-£30) and prone to failure. Since the coolant is already drained, replacing it prevents future overheating issues and avoids paying labor costs again soon after.
How long does the bleeding process take?
Bleeding the cooling system takes approximately 30 to 45 minutes. It requires patience. You must run the engine, let it warm up, turn the heater on, and top up the coolant multiple times until no air bubbles emerge. Rushing this step leads to immediate overheating.
What type of coolant should I use?
Check your owner’s manual. Common types include OAT (Organic Acid Technology, often orange/pink) and IAT (Inorganic Acid Technology, often green). Never mix different colors unless specified by the manufacturer, as chemical reactions can form gel-like sludge that blocks the radiator.