Spark Plug Replacement Difficulty Estimator
| Tool | Specification | Criticality |
|---|
Grabbing a wrench and swapping out spark plugs is often cited as the ultimate beginner-friendly car task. But is it actually easy? The short answer depends entirely on your specific vehicle's engine layout and how much you enjoy wrestling with tight spaces. For some cars, it’s a 20-minute job that saves you £50 in labor costs. For others, it’s a half-day ordeal involving removing air intakes and fighting rusted bolts.
This guide cuts through the marketing fluff to tell you exactly what makes spark plug replacement hard or easy, what tools you actually need, and how to avoid the mistakes that turn a simple fix into an expensive headache.
Why Spark Plug Difficulty Varies So Much
The complexity of changing ignition components isn't random; it’s dictated by engineering choices made decades ago. Modern engines are designed for performance and fuel efficiency, which often means cramming more parts into smaller spaces. This directly impacts accessibility.
- Engine Configuration: Inline-4 engines are generally the easiest. V6 and V8 engines have two banks of cylinders, meaning you might have to reach deep under the intake manifold on one side while the other side remains accessible. Flat (horizontally opposed) engines can be tricky because the plugs are often at the very back of the engine bay, hidden behind the firewall.
- Access Holes: Some manufacturers provide dedicated access holes in the valve cover. If your car has these, the job is significantly easier. If not, you may need to remove the entire valve cover or even the air filter box just to get a socket near the plug.
- Corrosion Levels: This is the biggest wildcard. A five-year-old car with clean, dry plugs is easy. A ten-year-old car that has seen salt water or lives in a humid climate like Manchester might have seized threads. Rust turns a 15-minute job into a two-hour battle requiring penetrating oil and patience.
The Essential Toolkit You Need
You don’t need a professional garage setup, but you do need the right tools. Using the wrong size socket is the most common mistake beginners make, and it can strip the hex head of the plug, making removal nearly impossible without special extraction tools.
| Tool | Specification/Note | Why It Matters |
|---|---|---|
| Spark Plug Socket | Usually 5/8" or 14mm (check manual) | Magnetized tip holds the plug so it doesn't fall into the cylinder if it breaks loose. |
| Ratchet & Extension | 3/8" drive, 6-inch extension minimum | Reach is critical. Longer extensions help navigate around hoses and wires. |
| Torque Wrench | Calibrated for Nm settings | Over-tightening cracks ceramic insulators; under-tightening causes heat leaks. |
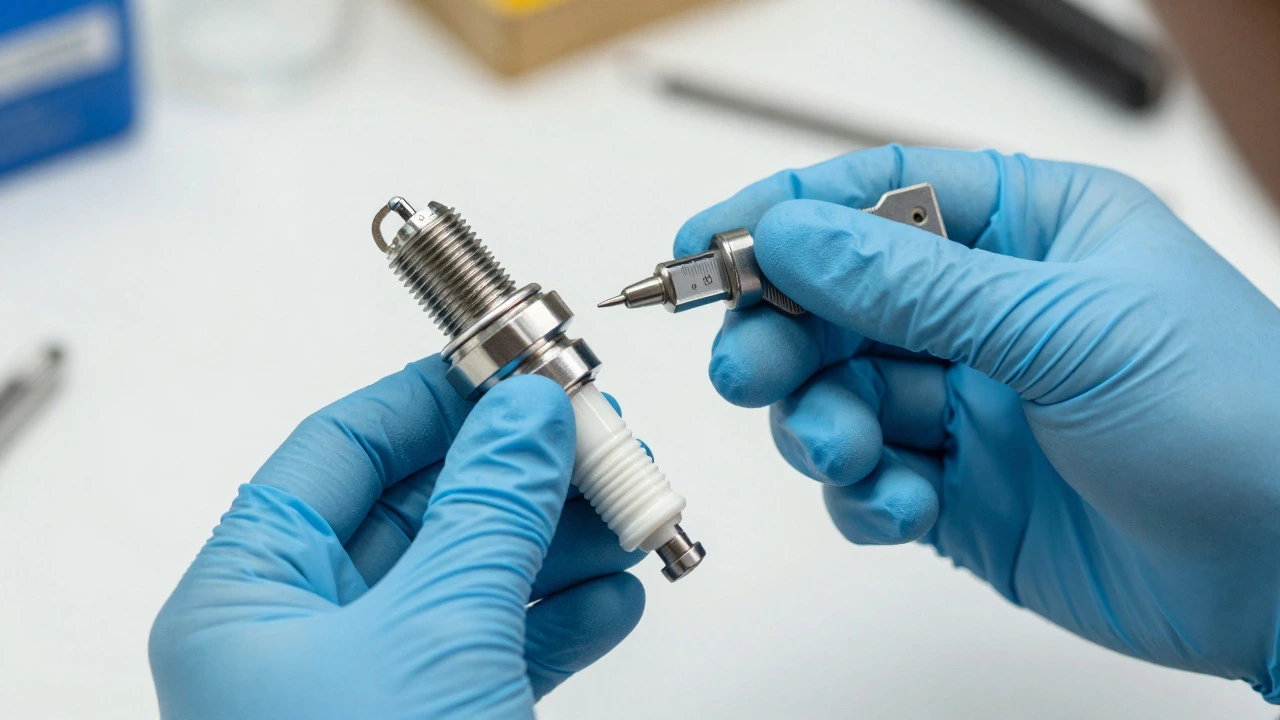
| Gap Gauge | Feeler gauge style | New plugs often come pre-gapped, but verification prevents misfires. |
| Penetrating Oil | WD-40 or similar | Essential for older vehicles to break down corrosion on the threads. |

Step-by-Step: How to Swap Them Safely
Before you touch a single bolt, ensure the engine is cold. Working on a hot engine risks burns and can warp metal parts, making future removal harder. Here is the logical flow of the operation.
- Disconnect the Battery: Remove the negative terminal first. This prevents accidental shorts when handling ignition coils or wires.
- Clear the Area: Remove any plastic covers, air ducts, or battery brackets blocking access. Take photos as you go-trust me, reassembling a complex engine bay is much easier when you have a visual map.
- Remove Ignition Coils/Wires: On coil-on-plug systems, unclip the electrical connector and gently twist the boot off the plug. On older distributor cars, pull the spark plug wire carefully from the top of the plug, not the bottom.
- Break Loose Old Plugs: Use your ratchet to loosen each plug counter-clockwise. Do not remove them yet. Just break the seal. If they feel stuck, apply penetrating oil and wait 15 minutes before trying again.
- Extract and Inspect: Remove the old plugs one by one. Look at the electrodes. White or blue tips suggest running lean; black oily tips suggest rich mixture or oil burning. This diagnostic step is free data about your engine's health.
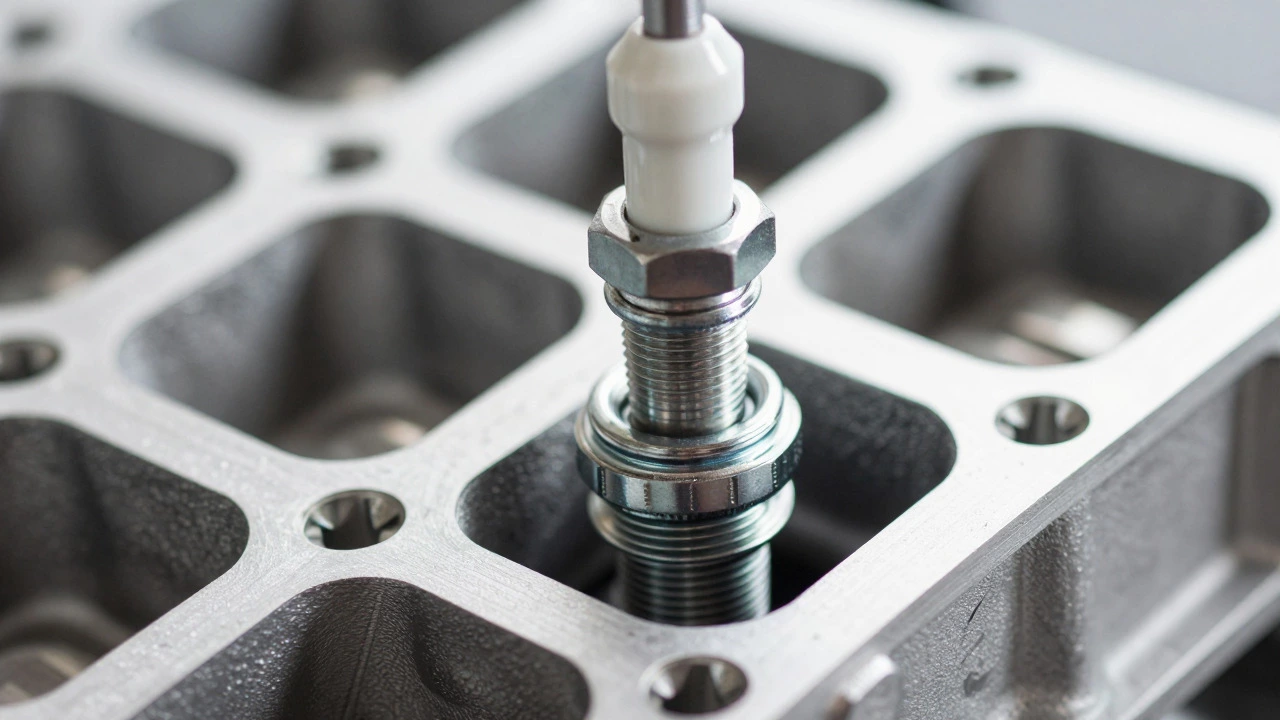
- Install New Plugs: Hand-thread the new plugs into the block. This is crucial. Cross-threading a new plug is a nightmare to fix. Once hand-tight, use your torque wrench to tighten to the manufacturer’s specification (usually between 15-25 Nm).
- Reassemble: Reconnect coils/wires, replace covers, and reconnect the battery. Start the engine and listen for smooth idle.
Common Pitfalls That Make the Job Harder
Even experienced mechanics hit snags. Knowing these pitfalls in advance helps you prepare mentally and physically.
Dropping a Plug Into the Cylinder is the fear every DIYer has. If a magnetized socket is used, this risk is low. However, if the plug falls in, you cannot simply fish it out. You must remove the piston or the entire engine head. To mitigate this, keep a shop vac nearby to blow out debris before starting, and work slowly.
Stripping the Hex Head happens when you use a standard socket instead of a spark plug socket, or when you apply too much force with a breaker bar on a corroded plug. If you strip the head, you’ll need a spark plug extractor tool, which adds cost and time. Prevention is cheaper than cure here.
Ignoring Torque Specs is a subtle error. Many people just "snug" the plug by feel. Over-tightening can crack the ceramic insulator, leading to gas leaks and overheating. Under-tightening allows combustion gases to leak past the threads, causing carbon buildup that seizes the next set of plugs. Always use a torque wrench.
When Should You Hire a Professional?
While DIY is rewarding, there are clear scenarios where paying a mechanic is the smarter financial decision.
- First-Time Experience on Complex Engines: If you have never changed plugs before and your car is a V8 or has a turbocharged inline-6 with tight packaging, consider hiring a pro for the first time. Watching a video is different from feeling the resistance of a seized thread.
- Severe Corrosion: If the plugs are rusted solid and won't budge after penetrating oil, a mechanic has specialized tools (like pickle forks or ultrasonic cleaners) to save the head gasket from damage.
- Lack of Tools: If buying a torque wrench, specific sockets, and extensions costs more than the labor fee, it’s not worth it unless you plan to do more maintenance regularly.
Frequently Asked Questions
How long does it take to change spark plugs?
For an easily accessible inline-4 engine, expect 30-45 minutes including inspection and cleaning. For a V8 or heavily obstructed engine, budget 1.5 to 3 hours. First-time attempts should allow double the estimated time for learning curves.
Do I need to gap new spark plugs?
Most modern OEM and aftermarket plugs come pre-gapped to factory specifications. However, always verify with a gap gauge. Incorrect gaps cause misfires, poor fuel economy, and reduced power. Adjusting is simple if needed, using the small tool included with the gauge.
What happens if I over-tighten a spark plug?
Over-tightening can crack the ceramic insulator, allowing combustion gases to escape and overheat the plug. It can also strip the threads in the engine block, making future removal extremely difficult. Always follow the torque specification in your owner's manual.
Can I change spark plugs with the engine warm?
It is highly recommended to work on a cold engine. Hot metal expands, making it harder to remove plugs and increasing the risk of burns. Additionally, working on a hot engine can warp aluminum valve covers or stress O-rings, leading to oil leaks later.
How often should I replace spark plugs?
Standard copper plugs last 20,000-30,000 miles. Platinum and iridium plugs can last 60,000-100,000 miles. Check your vehicle's maintenance schedule, but pay attention to symptoms like rough idling, hesitation, or decreased fuel economy, which indicate worn plugs regardless of mileage.