Car Radiator Replacement Cost & Savings Calculator
Professional Shop Estimate
Your DIY Cost
You Save Approximately:
Essential Tool Checklist
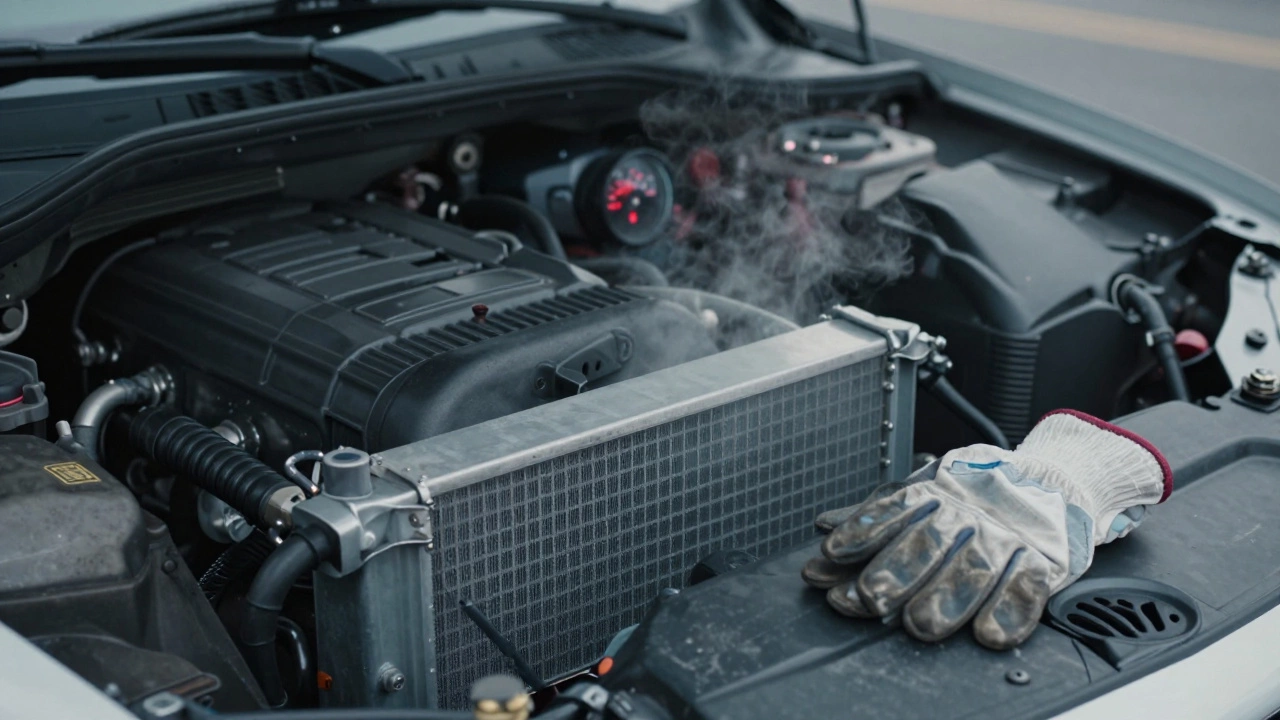
Is your car’s temperature gauge creeping into the red zone? Do you see steam rising from under the bonnet on a crisp Manchester morning? Before you panic-call a mechanic and hand over £300, ask yourself: can I fix this? The short answer is yes. For most modern cars, replacing a radiator is a manageable weekend project for a confident DIYer. It doesn’t require elite engineering skills, just patience, the right tools, and a healthy respect for hot coolant.
The Quick Takeaways
- Difficulty: Moderate. It’s physically awkward but mechanically simple.
- Time Required: 3-5 hours for first-timers; less if you’ve done it before.
- Cost Savings: £150-£400 compared to garage labour rates in the UK.
- Risk Level: Low if the engine is cold. High risk of burns if the system is pressurized and hot.
- Key Tool: A proper drain pan and basic socket set (usually 8mm to 14mm).
Why Your Radiator Fails
Before you start unscrewing bolts, confirm that the radiator is actually the problem. Cars don’t overheat randomly. Usually, there’s a clear trail of evidence. A failing cooling system is responsible for regulating engine temperature through fluid circulation. When it breaks down, here is what typically happens:
- External Leaks: Look for dried green, pink, or blue crust around the bottom of the radiator or along the hoses. If you see wet spots on the road where you park, it’s likely the tank or a seam giving way.
- Internal Corrosion: If the coolant looks like chocolate milk or has rust flakes, the core is rotting from the inside. This blocks flow and causes overheating even without visible leaks.
- Collapse: Older plastic tanks can warp or crack due to heat cycles. If the top tank looks squished, airlocks are forming, leading to erratic temperature readings.
If your thermostat is stuck closed or your water pump is dead, changing the radiator won’t help. Always rule those out first. Check if the lower hose gets hot after driving. If it stays cold while the engine boils, the blockage is upstream, not in the radiator itself.
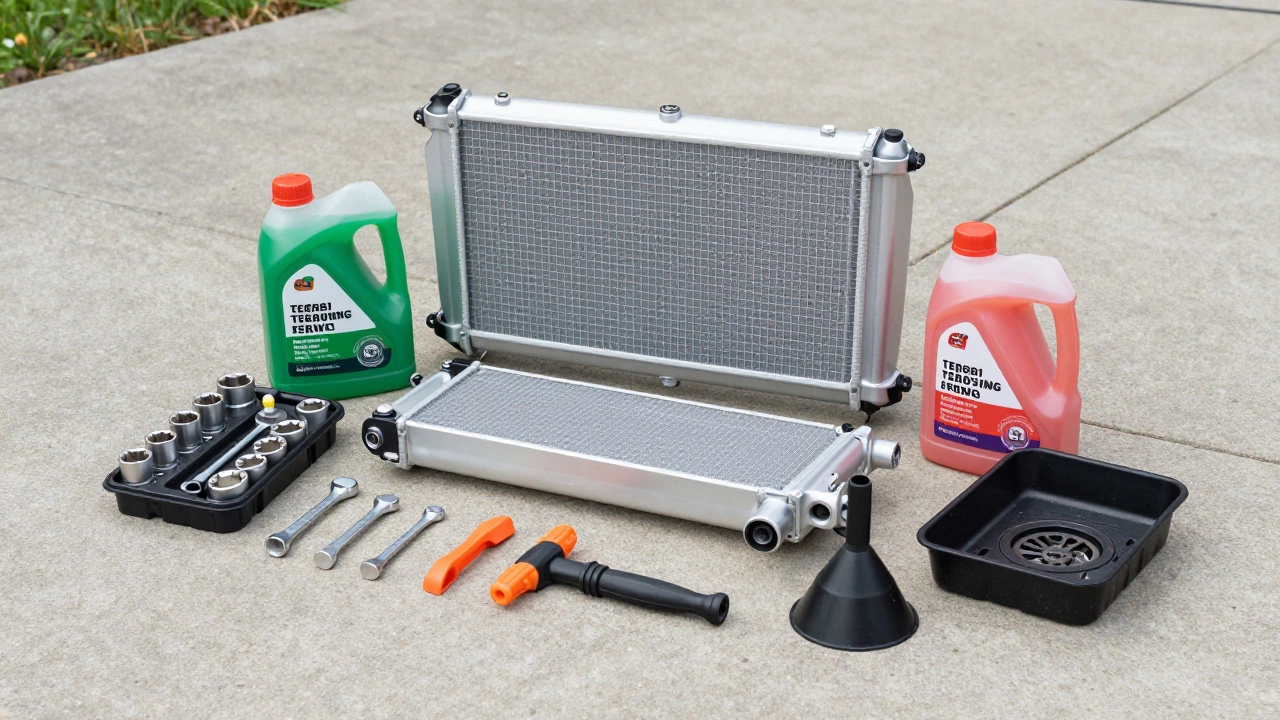
Gathering Your Toolkit
You don’t need a full garage setup. However, skipping the right tool will turn an easy job into a nightmare. Here is what you need to lay out on the driveway:
- New Radiator: Buy one specific to your VIN number. Aftermarket brands like Behr is a leading manufacturer of automotive cooling systems. or Nissens is a reputable supplier of vehicle thermal management components. offer quality parts at half the dealer price.
- Coolant: Check your owner’s manual for the correct type. Using the wrong mix (e.g., mixing silicate-based with organic acid technology) can create gel-like sludge that destroys seals. In the UK, G12+ and G13 are common for VAG vehicles, while Honda often requires its own specific green fluid.
- Drain Pan: An old baking tray works, but a dedicated funnel-shaped pan prevents spills on your concrete.
- Socket Set & Ratchet: Most radiator bolts use metric sizes between 8mm and 14mm. Torx bits may be needed for some German cars.
- Plastic Trim Tools: To remove front grilles without snapping clips.
- Funnel & Bleed Kit: Essential for refilling without trapping air pockets.
Step-by-Step Replacement Process
Safety first. Never open a hot cooling system. Wait until the engine is completely cold-ideally, work early in the morning. Pressurized steam can cause severe second-degree burns instantly.
1. Drain the Coolant
Place your drain pan under the radiator. Locate the drain plug at the bottom. If your car lacks a plug, disconnect the lower radiator hose. This is messy. Wear gloves. Let the fluid run out completely. Pour used coolant into a sealed container and take it to a recycling center. Do not dump it down the drain; antifreeze is toxic to pets and wildlife.
2. Remove Obstructions
In many modern cars, the radiator isn’t directly accessible. You might need to remove:
- The front bumper cover or grille.
- The condenser fan assembly (unplug the electrical connector first).
- The upper radiator shroud.
Take photos with your phone as you go. Trust me, you’ll forget which bolt goes where when you’re trying to reassemble everything.
3. Disconnect Hoses and Lines
Unbolt the upper and lower hoses. If they are stuck, use a hose pick or gently twist them back and forth. Avoid using pliers to pull, as you can crush the rubber neck. Also, disconnect any heater hoses if they route through the radiator area. Some cars have transmission cooler lines attached to the side; these leak easily if disturbed, so handle them with care.
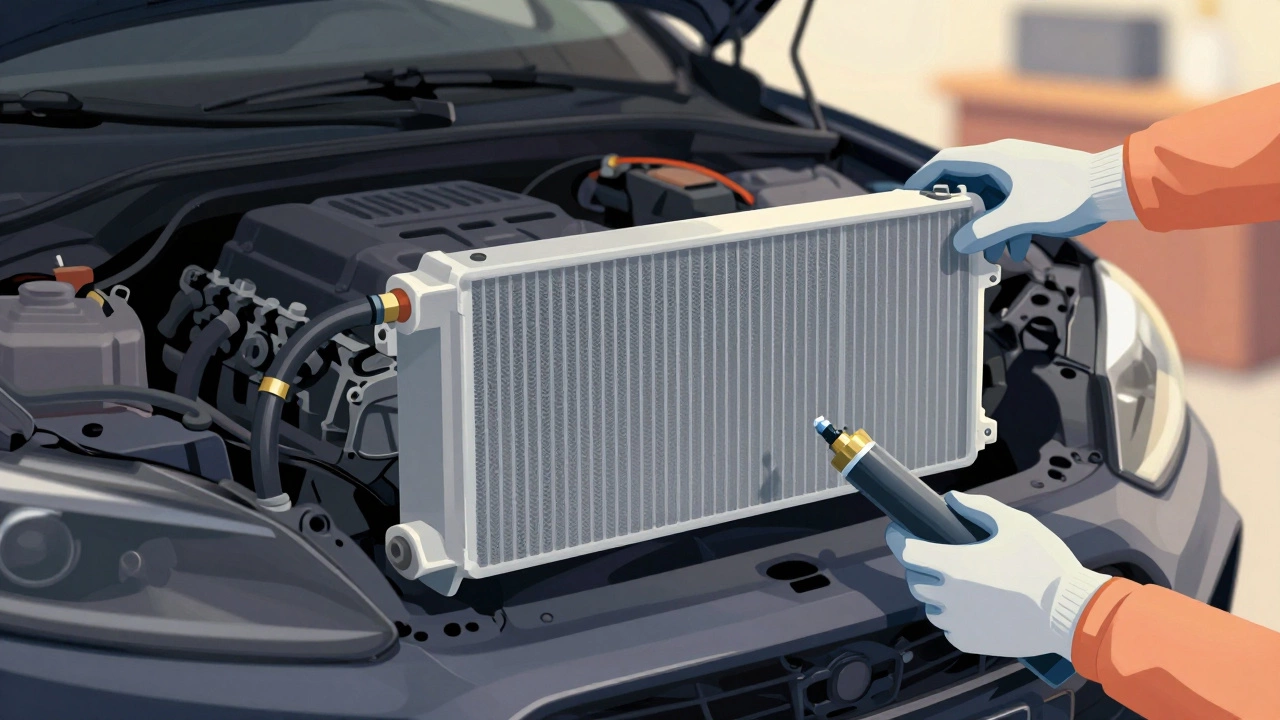
4. Swap the Unit
Remove the mounting brackets holding the old radiator. Lift it out carefully-it’s lighter than you think once empty. Place the new radiator in position. Ensure the overflow tube aligns correctly with the expansion tank inlet. Reattach the brackets loosely first, then tighten evenly to avoid warping the plastic tanks.
5. Refill and Bleed
This is the most critical step. If you trap air, the engine will overheat within miles. Reconnect all hoses. Fill the reservoir with a 50/50 mix of coolant and distilled water. Start the engine and let it idle with the heater on full blast. This opens the heater core valve, allowing air to escape from the entire circuit. Watch the level drop and top it up repeatedly until it stabilizes.
Common Pitfalls to Avoid
I’ve seen too many good jobs ruined by small mistakes. Here is what trips people up:
- Forgetting the Thermostat: While you have the system drained, replace the thermostat and its gasket. It’s cheap insurance against future overheating.
- Dry Running the Water Pump: Don’t run the engine long during bleeding without coolant flowing. The pump relies on lubrication from the fluid.
- Using Tap Water: Minerals in tap water scale up the internal passages over time. Stick to distilled water for mixing.
- Overtightening Plastic Bolts: Radiator mounts are often plastic threads in metal housings. Snug is enough. Cranking down hard strips the threads.
When to Call a Pro
There are limits to DIY. If your car requires dropping the subframe to access the radiator (common in some luxury SUVs), leave it to a specialist. Similarly, if you suspect a head gasket failure-indicated by white smoke from the exhaust or milky oil-changing the radiator is just a band-aid. You need a compression test and professional diagnosis. Also, if you aren’t comfortable working near live electrical components like the electric water pump or fans, seek help. Modern cars are computers on wheels; shorting a connector can fry an ECU module costing thousands.
How much does it cost to replace a radiator yourself?
Expect to pay between £80 and £200 for a quality aftermarket radiator, plus £20-£40 for coolant and miscellaneous fittings. Total parts cost rarely exceeds £250, saving you significant labour fees charged by garages.
Do I need to bleed the brakes after changing the radiator?
No. The braking system is separate from the cooling system. However, you must bleed the cooling system to remove air pockets, which is a different process involving the heater controls and coolant reservoir.
What happens if I mix different types of coolant?
Mixing incompatible coolants, such as orange OAT with green IAT, can cause chemical reactions that form sludge or precipitates. This blocks narrow passages in the radiator and engine block, leading to rapid overheating and potential engine damage.
Can I drive my car with a leaking radiator?
You should not. Even a slow leak reduces the system's ability to regulate temperature. Driving risks sudden boiling, loss of power steering assistance (if fluid-cooled), and catastrophic engine seizure due to overheating.
How do I know if my radiator is clogged internally?
Signs include poor heating performance in winter, frequent overheating under load, and visible debris in the coolant. A pressure test can also reveal restricted flow if the system builds excessive pressure quickly without external leaks.