Brake Pad Thickness Checker
Brake Pad Thickness Checker
Check if your brake pads meet safe thickness requirements.
Key Takeaways
- Listen for squealing or grinding noises - they often signal worn pads.
- Check the pad thickness; less than 3mm usually means replacement.
- Watch the wear indicator; a metallic squeal is a built‑in warning.
- Inspect rotors and calipers at the same time - uneven wear can hide problems.
- Replace pads promptly to keep braking distance short and stay safe.
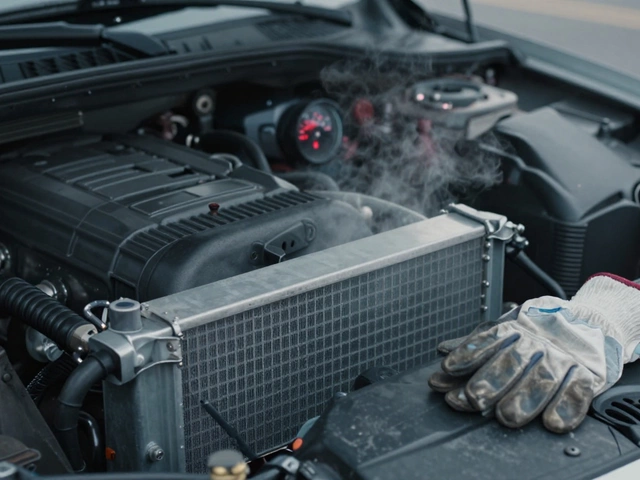
When your brake pads are the friction blocks that press against the brake rotor to slow your vehicle start to wear, the whole braking system feels the impact. Most drivers only think about pads when a squeal erupts or the brake pedal goes to the floor, but early signs are often subtle. This guide walks you through every practical way to spot bad pads before they endanger you or force an expensive repair.
1. Common Warning Signs
Every time you press the pedal, the brakes are doing work. If something feels off, it’s worth a closer look. Here are the most reliable clues:
- High‑pitched squeal - many modern pads have a built‑in wear indicator a thin metal tab that contacts the rotor when the pad is near its minimum thickness. The resulting screech is the system’s way of saying “replace me soon”.
- Low‑frequency grinding - if you hear a coarse metal‑on‑metal sound, the pad material is already gone and the brake rotor the steel disc that the pads clamp onto is being damaged.
- Longer stopping distances - a soft, spongy pedal response often means the friction surface has thinned out.
- Vibration or pulsation in the pedal - uneven wear on the brake caliper the housing that squeezes the pads onto the rotor can cause the rotor to warp.
- Brake‑dust buildup - excessive gray dust can indicate that the pads are wearing faster than normal, especially if the dust is accompanied by other symptoms.
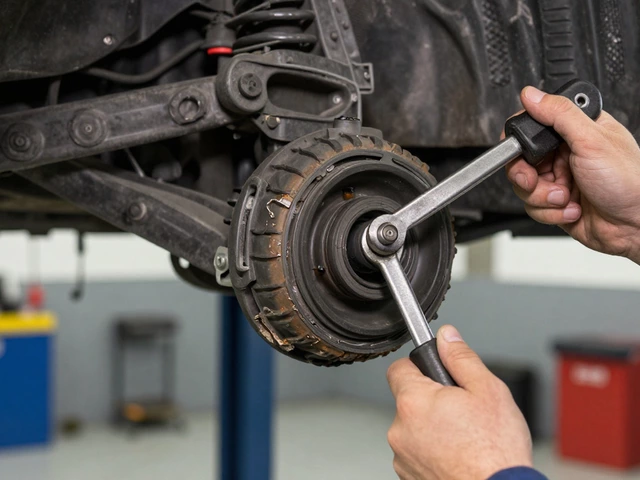
2. Visual Inspection - What to Look For
You don’t need a mechanic’s shop to peek at the pads. Most cars have a wheel‑rim removal point that lets you see the brake assembly without tools beyond a lug‑nut socket.
- Lift the vehicle safely on jack stands and remove the wheel.
- Locate the brake pads visible as rectangular blocks sitting behind the caliper.
- Check the outer edge of the pad material. New pads are usually about 10-12mm thick. If the remaining friction material is under 3mm, it’s time for a swap.
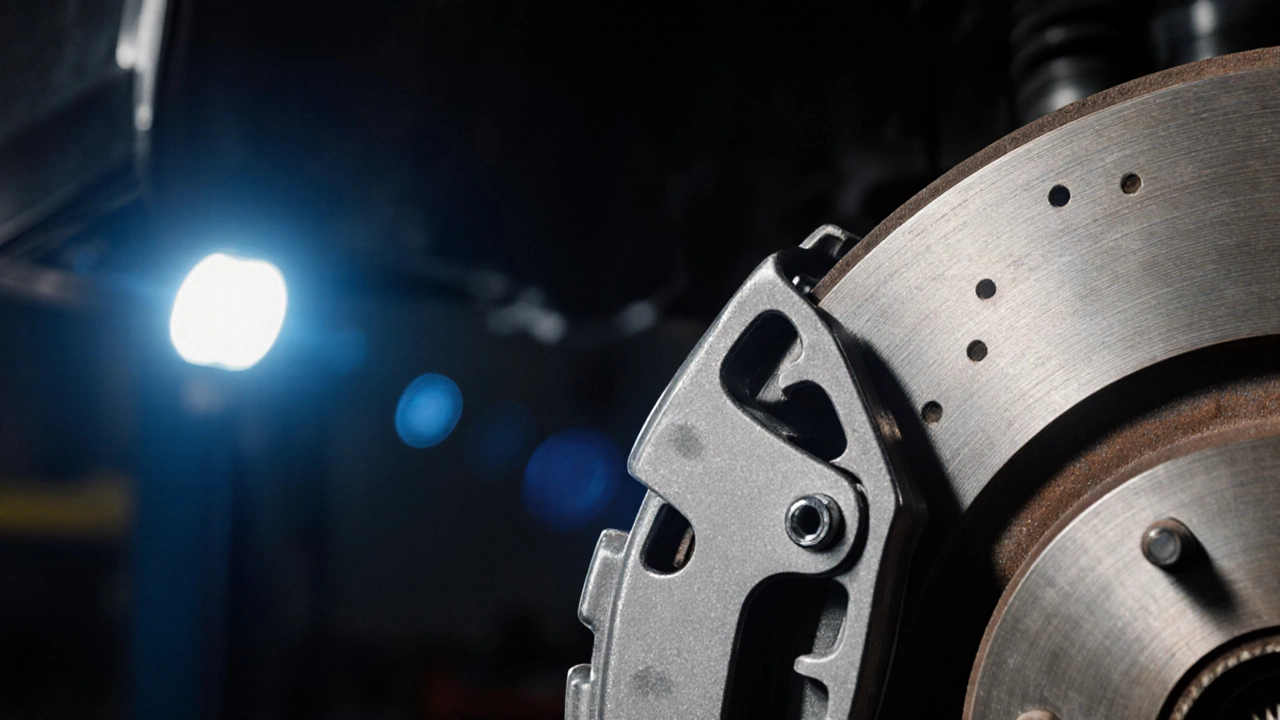
- Look for uneven wear - one side significantly thinner than the other suggests a sticking caliper or warped rotor.
- Inspect the brake rotor the smooth, disc‑shaped metal that the pads clamp onto for scoring, discoloration, or rust.
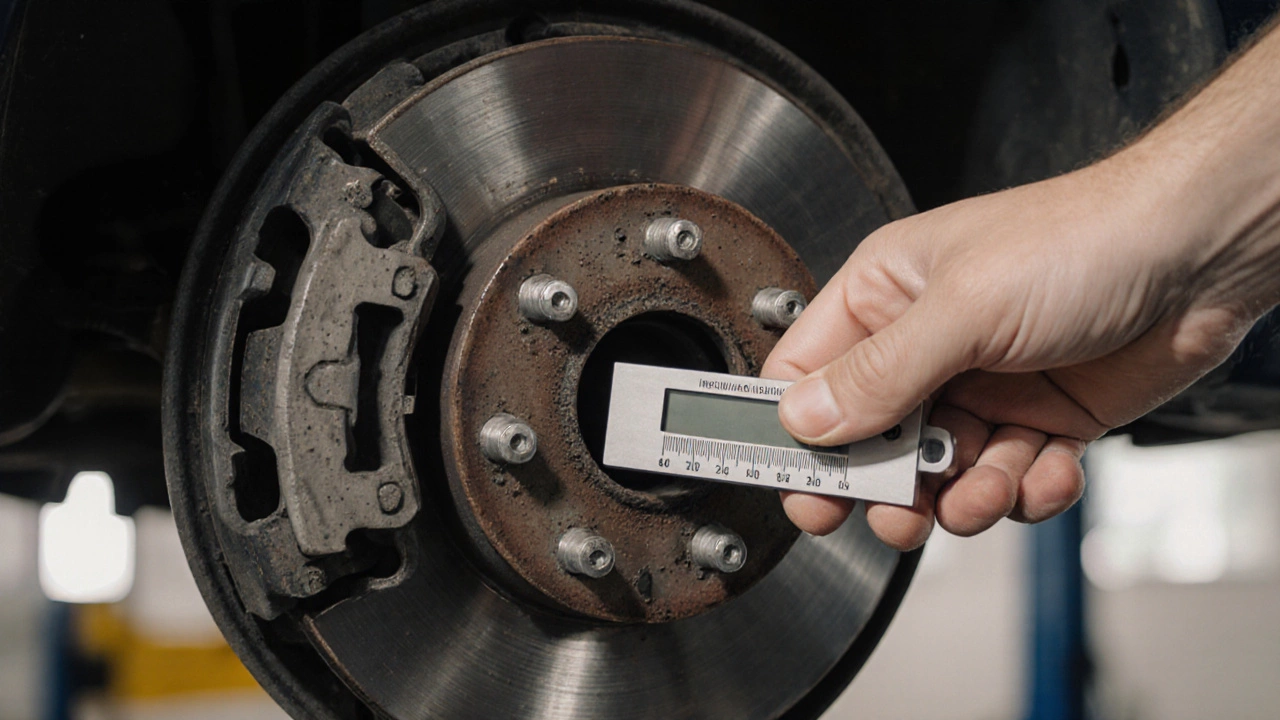
3. Measuring Pad Thickness Accurately
If you want a precise reading, a simple brake pad thickness gauge a calibrated metal ruler or sliding caliper designed for brake components does the trick.
- Place the gauge against the pad’s inner surface, ensuring it contacts the friction material, not the backing plate.
- Read the measurement; most manufacturers list a minimum of 2mm for safe operation.
- Record the reading for both left and right sides - a discrepancy larger than 1mm warrants further investigation.
For drivers who prefer a quick visual cue, many pads have a colored line or notch that becomes visible when the pad reaches the wear limit.
4. How Related Components Influence Pad Health
Brake pads don’t work in isolation. Understanding the surrounding parts helps you diagnose why pads might wear faster than expected.
- Brake fluid the hydraulic fluid that transmits pressure from the pedal to the calipers - low fluid can cause uneven pressure, leading to one side wearing faster.
- ABS Anti‑Lock Braking System, which modulates brake pressure during hard stops - a malfunctioning sensor may keep the system in a semi‑locked state, heating the pads.
- Dust accumulation - brake dust fine particles of metal and friction material that settle on wheels can mask wear signs, so a clean wheel makes inspection easier.
- Brake type - disc brake the common system using rotors and pads versus drum brake a sealed drum where brake shoes press outward have different wear patterns. Most modern cars use disc brakes on the front axle; rear drums wear more slowly but are harder to see.
5. When to Replace - Thresholds and Safety Tips
There’s no one‑size‑fits‑all rule, but the following guidelines keep you on the safe side:
| Symptom | Measured Thickness | Recommended Action |
|---|---|---|
| Squealing noise | 3mm or less (or wear indicator active) | Replace pads promptly; check rotors for scoring. |
| Grinding sound | 0mm (metal on metal) | Replace pads and machine or replace rotors. |
| Pedal feels soft | 4mm‑5mm with no other issues | Inspect fluid and calipers; consider replacement soon. |
| Vibration during braking | Uneven wear >1mm difference | Service calipers; replace pads if below 5mm. |
Never ignore a squeal - it’s cheaper to replace a set of pads (often £80‑£150) than to resurface or replace a warped rotor (which can exceed £300).
6. Common Mistakes to Avoid
- Driving on worn pads because “the car still stops”. The reduced friction lengthens stopping distance dramatically in wet weather.
- Replacing only one pad on a disc‑brake axle. Unequal thickness leads to pull‑to‑one‑side braking.
- Re‑using old hardware (pins, clips) without cleaning. Corroded clips can prevent the pad from fully seating.
- Skipping the brake‑fluid flush when pads are replaced. Old fluid can contain moisture that accelerates component wear.
7. Quick Inspection Checklist
- Listen for squeal or grinding during light and hard braking.
- Visually inspect pad thickness; aim for >3mm.
- Measure with a thickness gauge for accuracy.
- Check rotor surface for scoring or rust.
- Confirm wear indicator isn’t constantly contacting the rotor.
- Look at brake‑fluid level and condition.
- Note any pedal vibration or pulsing.
Cross‑checking this list every 10000km (or at each service) catches bad pads early and saves money in the long run.
Frequently Asked Questions
How often should I check my brake pads?
A visual check every 10000km and a professional inspection at each service (usually every 12months) keeps you safe. If you hear any squeal, check them right away.
Can I drive with a grinding noise?
No. Grinding means the pads are gone and the metal of the rotor is being damaged. Drive only to the nearest garage and replace both pads and possibly the rotor.
Do all cars have wear indicators?
Most modern disc‑brake systems include a wear indicator tab, but some budget models rely solely on visual inspection. Check your owner’s manual for specifics.
Is it okay to replace only the front pads?
If the rear brakes are drum‑type, you can replace just the fronts. However, for disc‑brake rear axles, replace both sides to maintain balanced braking.
What’s the cost difference between pad and rotor replacement?
A set of quality pads typically costs £80‑£150 plus labour. A rotor can run £100‑£200 each, and if both need machining the total may exceed £300. That’s why early pad detection matters.
Keeping an eye on your brake pads is one of the simplest ways to stay safe on the road. A quick listen, a glance, and a few millimetres measured with a gauge can tell you if it’s time for a change, preventing costly repairs and keeping your stopping distance short.